
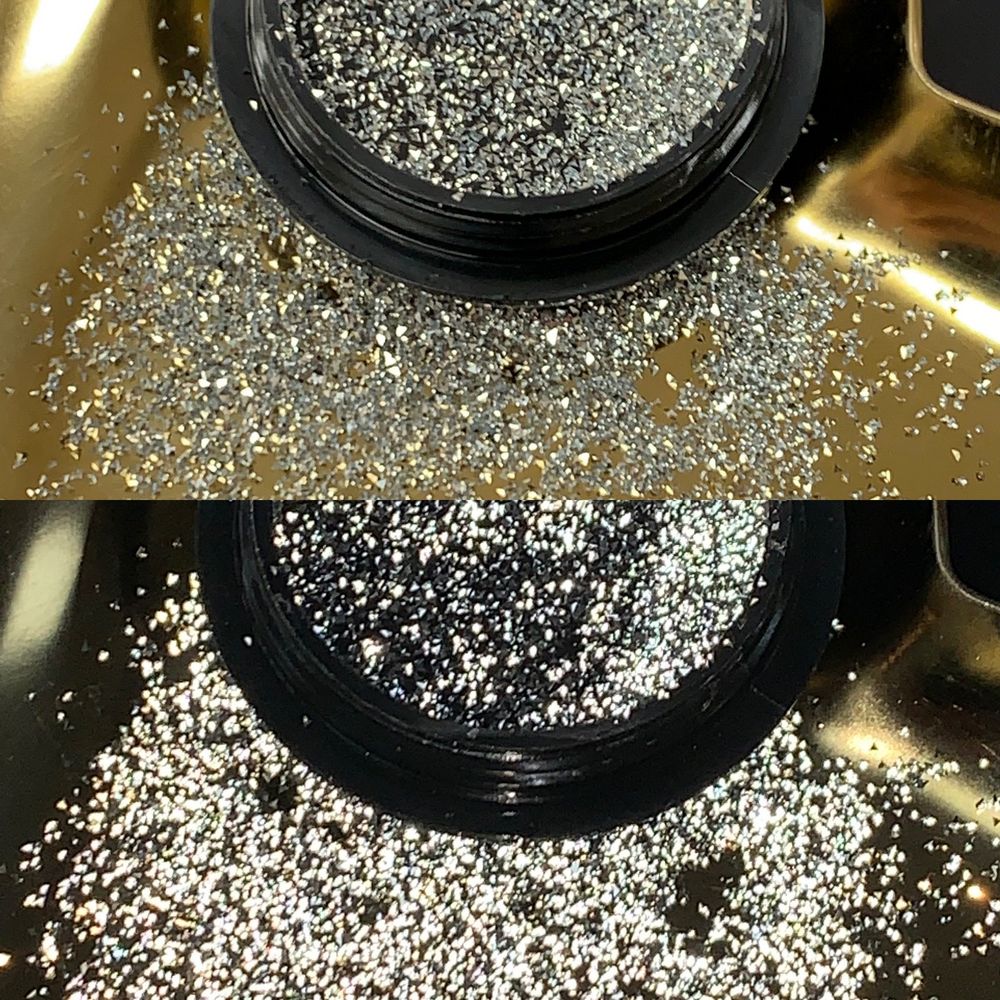
If you want to add tiny, high-shine accents to manicures without complicated techniques, mini sparkle rhinestones are an easy and dramatic choice. This guide explains what Reflective Pixie (mini sparkle rhinestone) is and walks a beginner through every step from prep to removal.
Start simple: try placing stones on a single accent nail or along a cuticle line before attempting full-coverage looks. For a direct product reference, try using mini sparkle rhinestones to add pinpoint sparkle to a neutral base.
What exactly are these tiny stones?
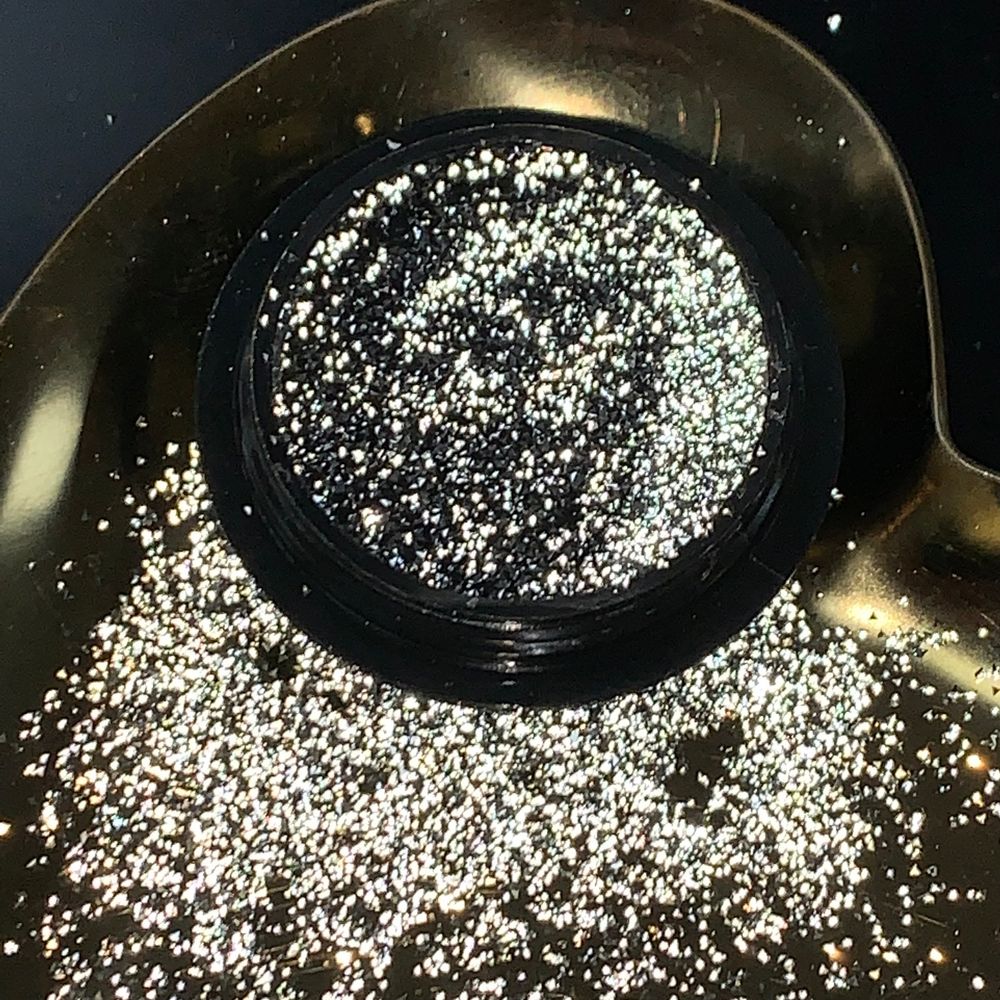
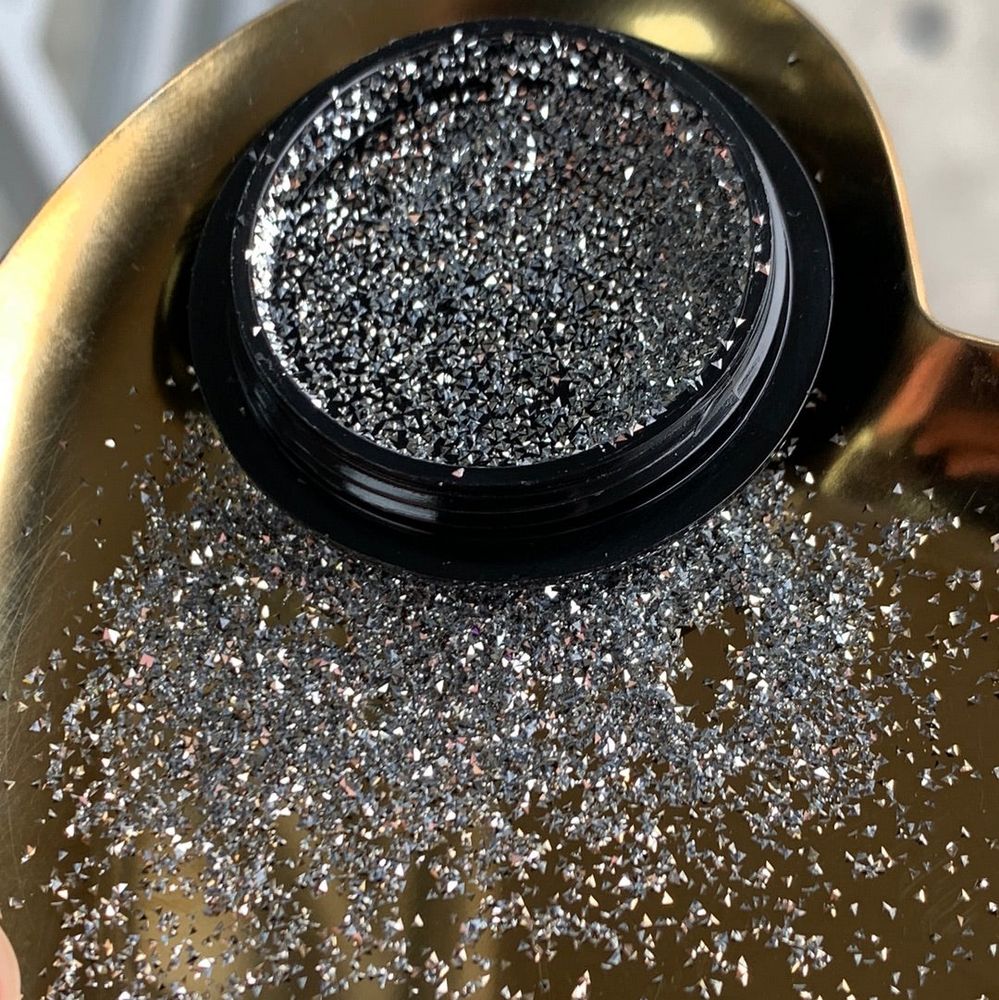
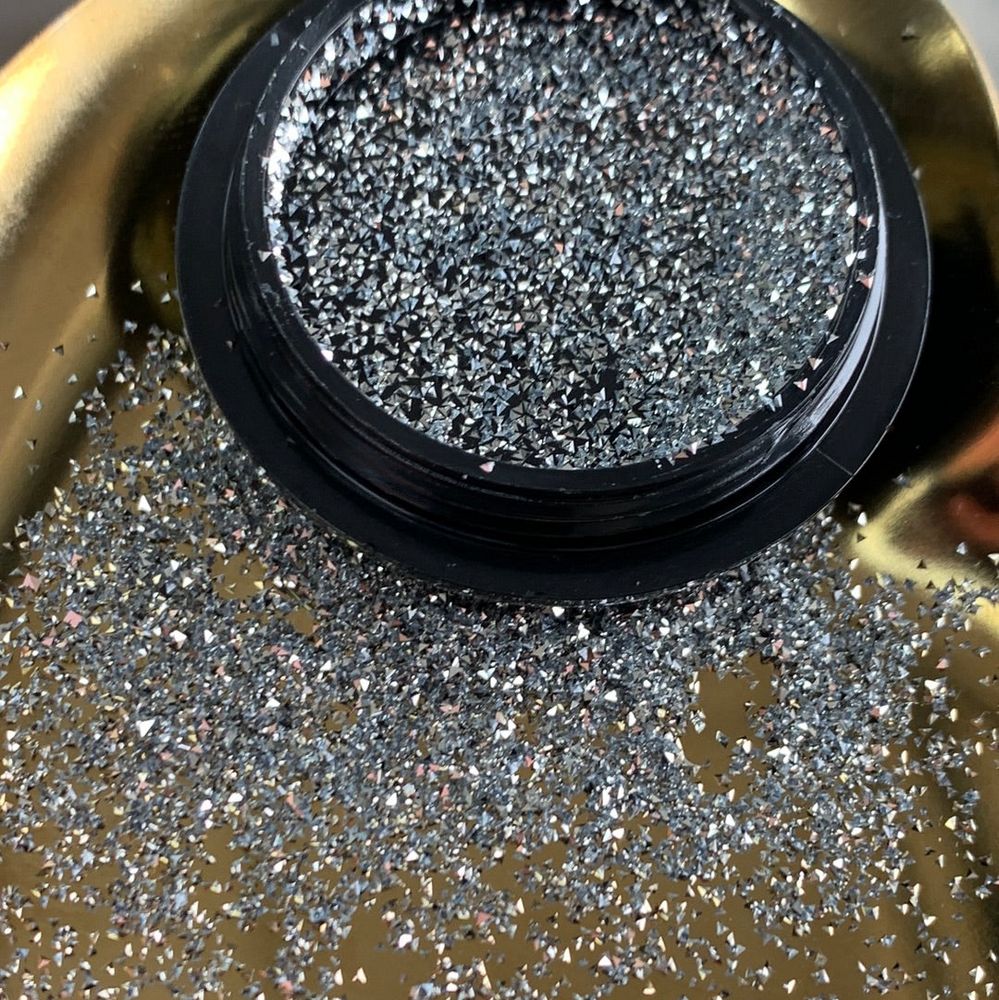
Reflective Pixie is described as a “tiny size” mini sparkle rhinestone with super sparkle, intended for nail art design. In practical terms this means the pieces are small enough to work as accents rather than full-surface coverage, and they are made to catch and reflect light for extra shimmer.
Key features and why they matter
- Tiny size: Small pieces sit comfortably on accent nails and are ideal for intricate layouts or clustered motifs.
- Reflective sparkle: The high-reflective finish amplifies light, so fewer stones can create a bold effect.
- Affordable option: Priced at $5.00 for the listed variant, these are an economical way to experiment with rhinestone looks.
Tools you’ll want on hand
- Tweezers or a wax pencil/picker for precise placement
- A thin dotting tool or toothpick for arranging patterns
- Clear top coat or builder gel to secure the stones
- Optional: a small tray or paper to keep rhinestones organized
Step-by-step application for beginners
- Prep the natural nail: Clean, push back cuticles, and lightly buff the nail surface so polish and adhesives adhere well.
- Apply base color: Paint the nail with your chosen polish or gel and let it dry or cure according to the product directions.
- Plan your placement: Arrange a dry layout of the stones on a tray so you know where each piece will go. Start with a single accent nail if you’re new to placement.
- Pick up a stone: Use tweezers or a wax picker to lift a rhinestone. Small tools give control when working with tiny pieces.
- Adhere the stone: For regular polish, apply a small dot of clear top coat where the stone will sit and press it into place; for gel systems, set the stone into a drop of gel or adhesive and cure.
- Seal the design: Apply a careful layer of top coat around and over the edges of the stones to lock them in. Avoid heavy brushing directly over very small stones to keep their sparkle intact.
Design ideas and placement tips
Because these are tiny reflective pieces, they work best as accents rather than full-coverage. Try these simple layouts:
- Single stone at the base of the nail for a minimalist look.
- A short arc following the cuticle line for a crescent accent.
- Clustered group near the free edge to mimic a confetti scatter.
- Combined with glitter or chrome powders to amplify shine.
Practical placement tips
- Use a light touch when pressing stones into adhesive to avoid sliding.
- Work one nail at a time so adhesives don’t set before placement.
- Keep extra stones handy—tiny pieces can be easy to misplace.
Care, removal, and safety notes
Rhinestone accents should be treated gently. When performing everyday tasks, avoid picking at clustered stones. To remove, carefully lift stones after softening the surrounding top coat with an appropriate remover for the system you used; do not force them off or pry repeatedly as that can damage the natural nail surface.
Who should pick Reflective Pixie?
These mini sparkle rhinestones are ideal for beginners who want to try rhinestone accents without a major time investment, nail artists building accent skills, or anyone seeking small reflective detail for creative manicures. They’re also a low-cost option for experimenting—available through retailers like Dynamic Nail Supply in the listed variant.
Final tips before you start
- Practice on a spare nail tip to perfect placement and sealing technique before working on clients or your own nails.
- Start with simple layouts and add complexity as you gain confidence.
- Store leftover stones in a sealed container to prevent loss and dust buildup.
With a little patience and the right tools, Reflective Pixie mini sparkle rhinestones are an easy way to elevate nail designs. Begin with single accents, learn how adhesives and top coats behave with tiny pieces, and you’ll quickly expand into more intricate arrangements.
