
Small, colorful nail charms can transform a basic manicure into a statement. This beginner-friendly guide explains what a cherry nail charms set is, decodes common nail-art terms, and walks through a safe, step-by-step application so you can add playful cherry accents with confidence.
What is a cherry nail charms set?
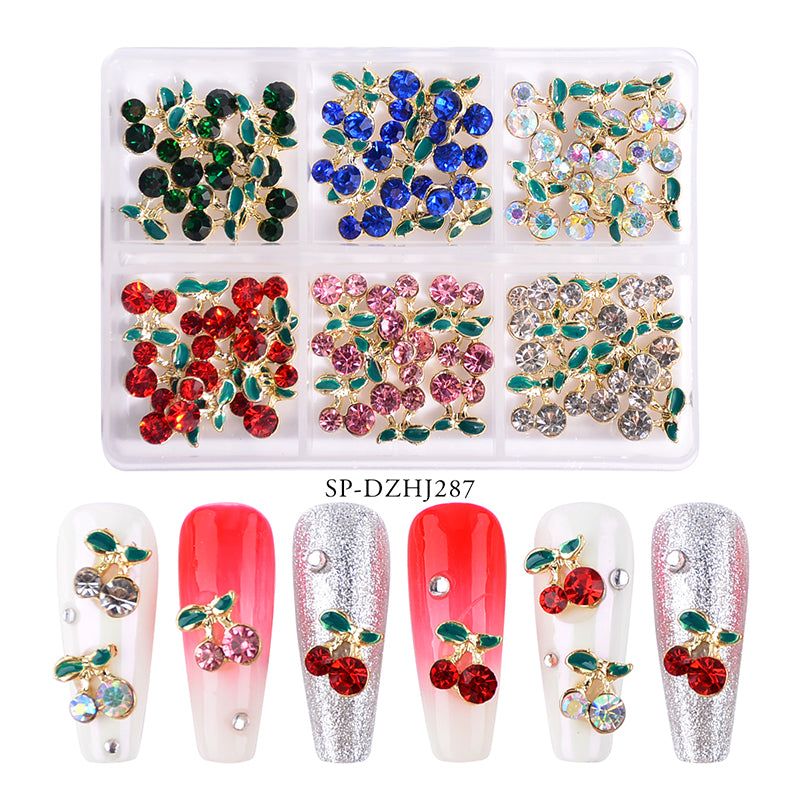
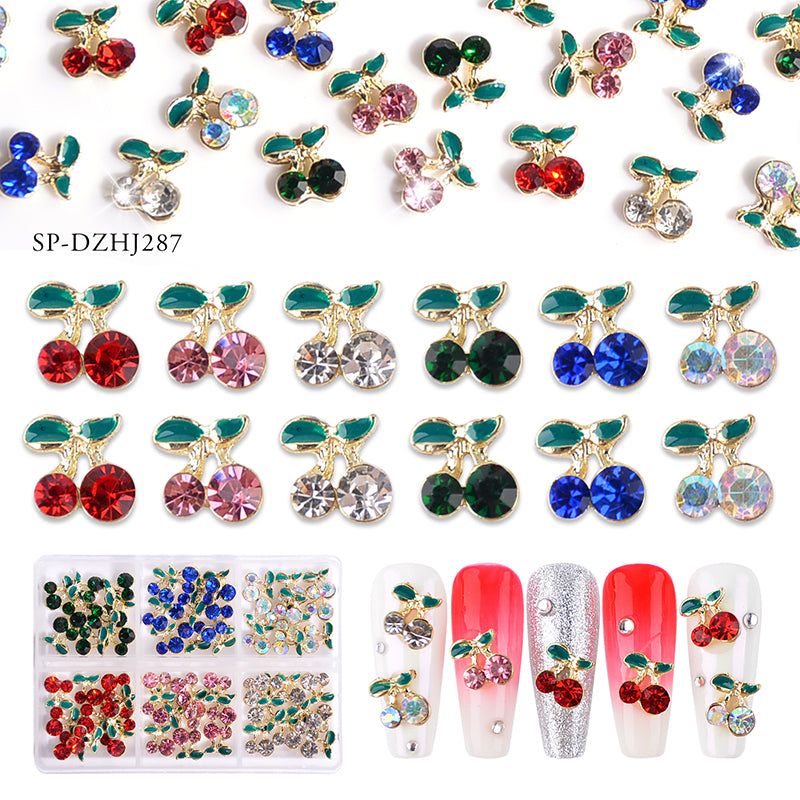
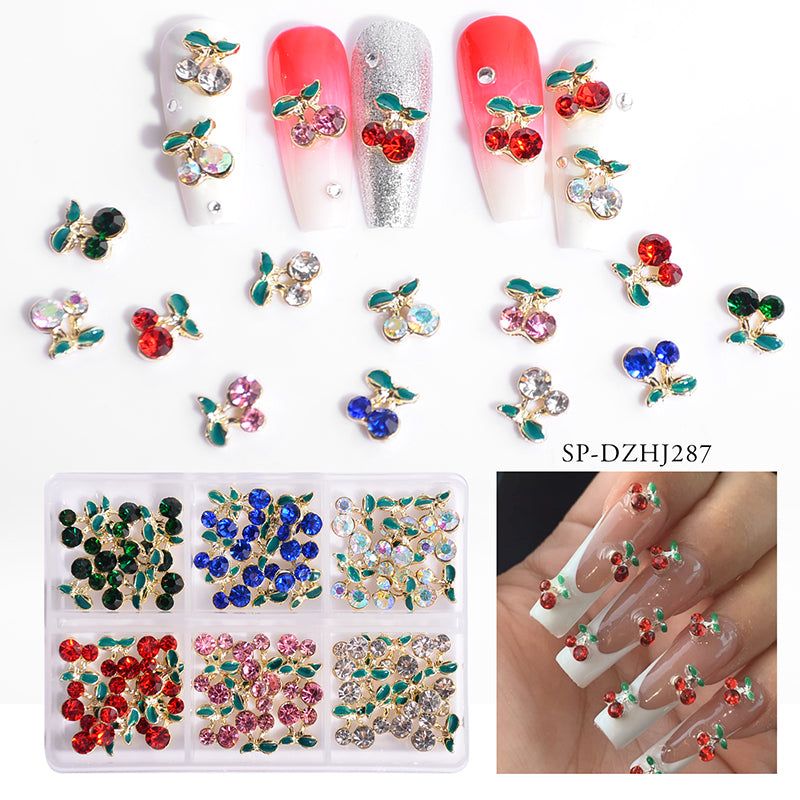
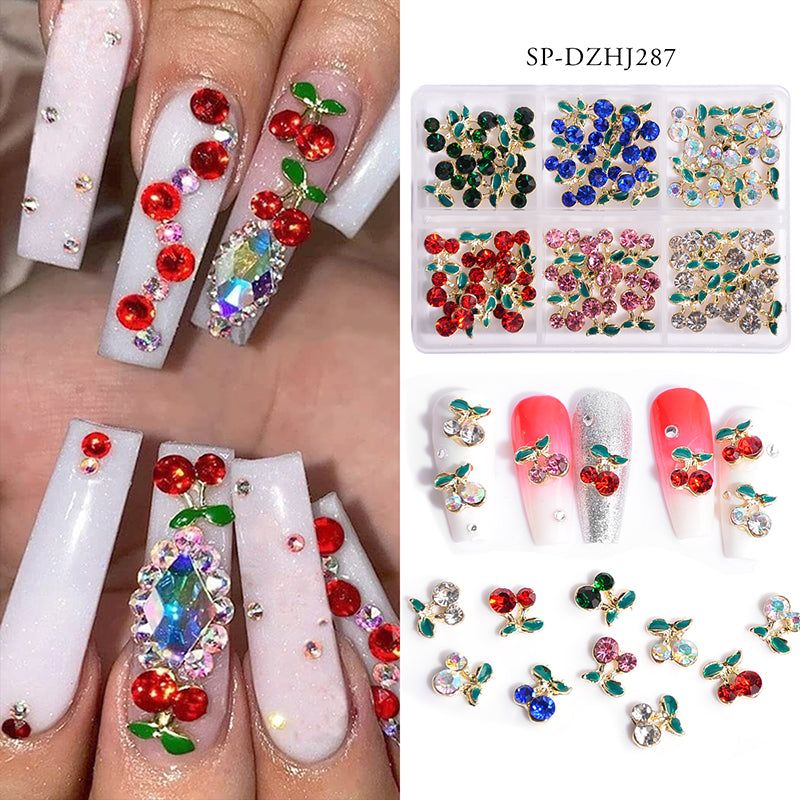
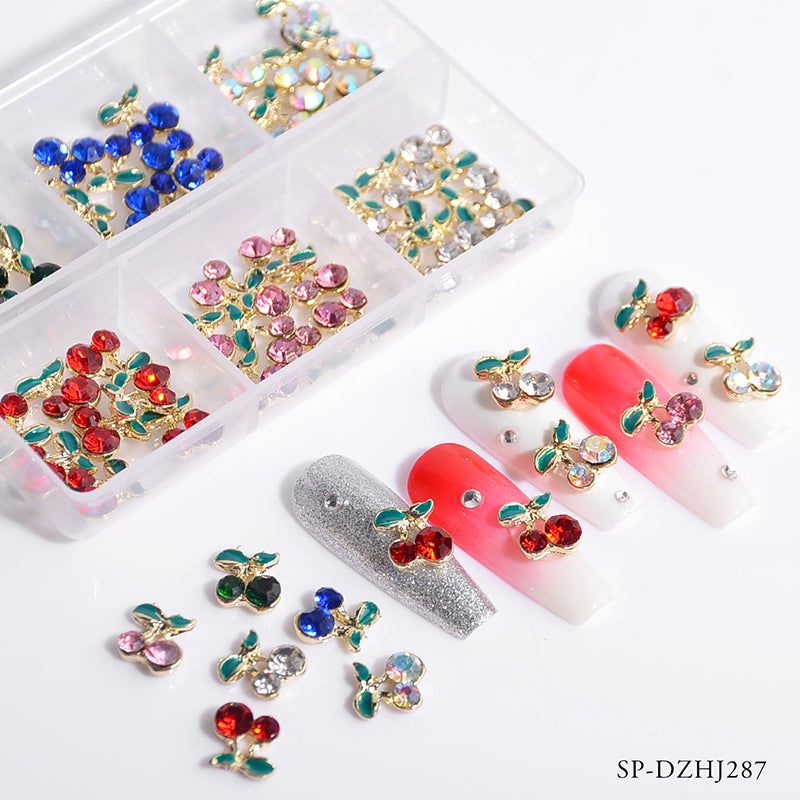
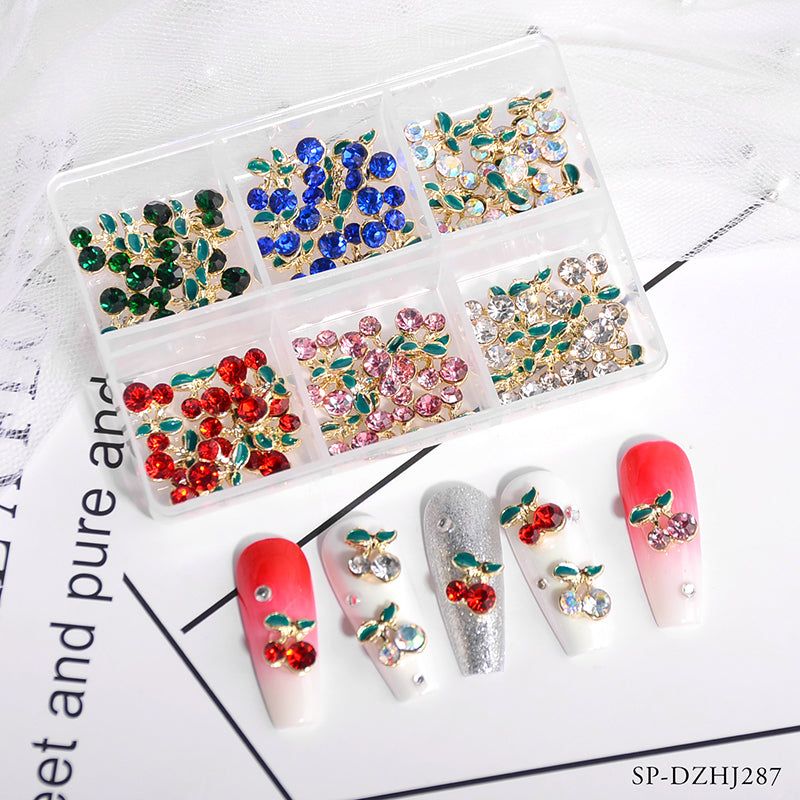
A cherry nail charms set is a pack of tiny decorative elements shaped or themed like cherries that you apply to nails as accents. The kit covered here contains 60 pieces in six mixed colors, designed for designers, beginners and hobbyists who want instant nail art embellishments without sculpting or intricate painting.
What’s included and why it matters
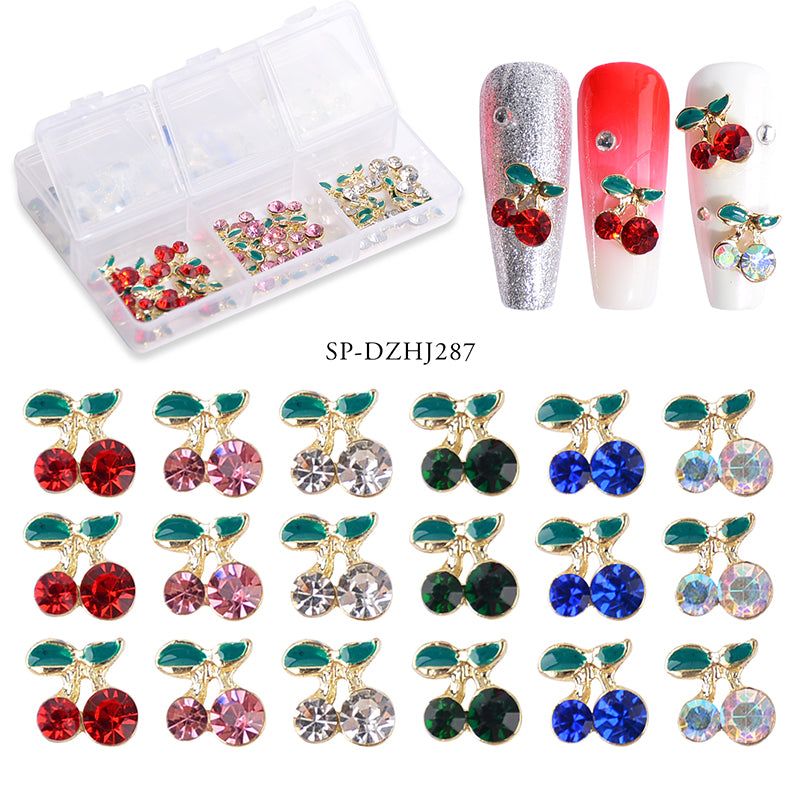
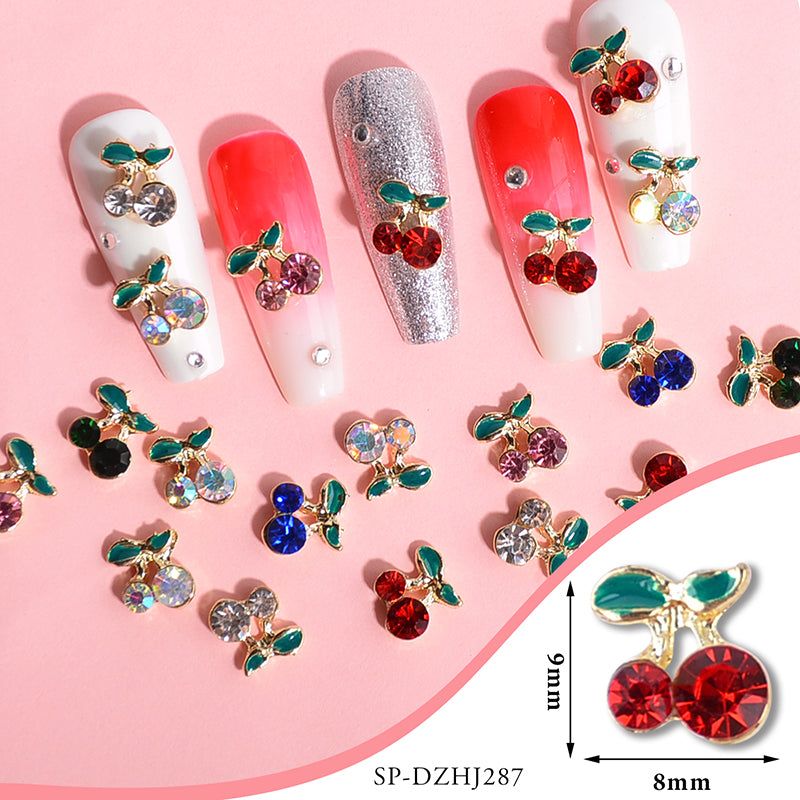
In this mixed pack you’ll find a variety of cherry charms—different finishes and hues across six colors—so you can mix-and-match a full set of manicures or create accent nails. The assortment makes it easier to experiment with color combinations and placement styles. If you want to see the product before you start, you can order the Nail Charms mixed 6 colors and check the assortment directly.
Key terms every beginner should know
- Accent nail — a single nail (or two) that gets a different design or embellishment to stand out.
- Top coat — clear polish applied over decorations to seal and protect them.
- Nail glue — adhesive used to secure charms for longer wear (use sparingly).
- Gel top coat — a clear gel finish that’s cured under an LED/UV lamp for durability (if you use gel systems).
Step-by-step: Applying cherry charms (beginner method)
- Prep your nails. File, shape and clean the nail plate. Remove oils with alcohol or a nail cleanser so adhesives bond well.
- Apply base color. Paint the nails you want decorated with your chosen polish or gel. Let polish dry completely before adding charms.
- Choose placement. Plan which nails will be accented and where each cherry charm will sit—near the cuticle, at the tip, or clustered on one nail.
- Attach the charm. For a quick beginner-friendly hold, use a small drop of clear top coat on the spot, press the charm gently into place, and hold for a few seconds. For stronger adhesion, use a tiny bit of nail glue or a cured gel top coat technique (follow your adhesive’s instructions).
- Seal the design. Apply a generous layer of clear top coat around and over the charm edges (not necessarily thickly over flat charms) to lock edges and reduce snagging. If using gel, encapsulate with a builder or top gel and cure per your system’s directions.
- Finish and clean up. Wipe away any excess adhesive and check for secure edges. Allow full drying/cure time before using hands heavily.
Placement ideas and quick designs
- Single-stem accent: One cherry near the cuticle on the ring finger for a minimalist pop.
- Clustered trio: Group three charms near the base of the thumb or middle finger for a playful cluster.
- Alternating colors: Use mixed colors across nails—solid color nails alternated with a charm-studded nail creates balance.
- French with a twist: Add a small cherry at the tip center of a classic French manicure instead of the usual white edge.
Care, removal and safety notes
Charms are decorative; treat them gently. Avoid picking at edges and be cautious with activities that apply prolonged stress to manicure edges. To remove, soak nails in acetone or follow your regular removal method for applied nail art—do not force charms off, as that can damage the natural nail. If you experience irritation after adhesive use, discontinue and consult a professional.
Who this set is best for
This mixed pack of 60 cherry charms is great for beginners exploring nail embellishments, nail technicians building a playful portfolio, and hobbyists who like seasonal or themed looks. It’s a convenient way to try many color options without buying multiple single-color sets. The supplier for this item is Dynamic Nail Supply, and the package is offered at $12.00 (price may change).
Practical tips from pros (for safer, longer wear)
- Work on one nail at a time so adhesive doesn’t skin over before you place the charm.
- Use tweezers or a wax pencil for precise placement—small charms are easier to handle with tools.
- When using a regular top coat, apply several thin layers rather than one thick one for better curing and less bubbling.
- Keep an extra supply of clear top coat or builder gel for future re-seals if a charm begins to lift.
With a little patience and the right prep, a cherry nail charms set offers easy, high-impact accents you can change up as often as you like. Start simple, experiment with placement, and soon you’ll have playful, salon-style results from a single mixed pack.
